

A beautiful gemstone bead bracelet can look complex, but the basic build is friendly to beginners. We’ll show you how to pick a style, plan your pattern, string the beads, secure the finish, and care for the piece once it’s done.
Choose a simple stretch design for your first try, or move to braided cord and wire when you want more shape. A little patience at the finish makes all the difference.
Step 1: Choose Your Bracelet Style, Materials, and Intention
Gemstone bead bracelets can use stretch cord, braided cord, beading wire, or several strands worked together. Start with the style that matches your skill level and the way you plan to wear the bracelet.
A stretch bracelet is the quickest option. It slips over the hand without a clasp, which makes it useful for daily wear. Braided cord gives you an adjustable fit. Wire creates a firmer bracelet with a polished jewelry-shop feel.
Pick the structure first
| Bracelet style | Best use | Materials to gather | Watch for |
|---|---|---|---|
| Stretch | Beginner projects and easy wear | Elastic cord, beads with wide holes, scissors, glue made for jewelry | A loose knot can slip or show |
| Braided cord | Adjustable designs with a soft look | Braided cord, opening needle, beads, scissors | Uneven tension can twist the pattern |
| Beading wire | Structured bracelets with clasps | Flexible wire, crimp beads, crimp tool, clasp, cutters | Sharp wire ends need careful trimming |
| Braided wire | Statement pieces with more body | Dead-soft wire, round-nose pliers, chain-nose pliers, beads, clasp | Hard bends can weaken the wire |
For a first stretch bracelet, choose beads in one size. Six to eight millimeters gives a balanced look. Larger beads make a bold piece, but they also need more room around the wrist.
For a cord design, an opening needle helps you thread several strands. Some makers work with two cords for smaller beads and add strands as bead size increases. The hole must still be large enough to hide the finished knot.
Beadwork is a broad craft with many regional styles and methods. It can involve attaching beads to a surface or stringing them together. That range is useful to remember. You don’t need to force every bracelet into one set style.
Choose stones with a clear purpose
Let color lead the design, then let your intention refine it. A warm carnelian bracelet can suit a confidence ritual or a rich autumn wardrobe. Rose quartz creates a softer mood. Green agate brings a calm earth tone to neutral clothes.
For a quiet spiritual design, amethyst, moonstone, or clear quartz may appeal to you. For grounding symbolism, darker stones such as black onyx or shungite can create a strong visual anchor. These associations are personal and spiritual, not medical promises.
Gemstone names also need care. A gemstone is a mineral or organic material valued for beauty, rarity, or durability, though the term can cover many materials and treatments. This background can be helpful when you want to learn how the term is used.
At Auras of Osiris, we describe gemstone jewelry through both its visual character and its symbolic meaning. If you’d rather begin with a finished piece than a full DIY project, browse the genuine gemstone bead bracelet collection for styles that suit different wardrobes and intentions.
Step 2: Measure Your Wrist and Prepare the Bead Layout
Good gemstone bead bracelets begin with a measured wrist and a tested layout. Don’t cut your cord until you know how the beads will sit when they form a circle.
Measure for the fit you want
Wrap a soft tape around your wrist where the bracelet will rest. Keep the tape close to your skin, but don’t pull it tight. If you don’t have a tape, wrap a strip of paper around your wrist and mark the overlap. Measure that strip with a ruler.
Now choose the feel:
- Close fit: Add a small amount of room for a snug bracelet.
- Comfort fit: Add more room so the bracelet can move slightly.
- Loose fit: Add enough room for a relaxed drape, especially with large beads.
Stretch cord needs a slightly different test. Lay the beads in a circle that matches your wrist, then gently bring the ends together. A bracelet that looks right on a flat board may feel tight once the beads curve around your arm.
For an adjustable cord bracelet, plan the smallest and largest useful settings. A sliding knot or pearl knot can give the wearer room to change the fit. Test the opening with the bracelet off your wrist before you finish the ends.
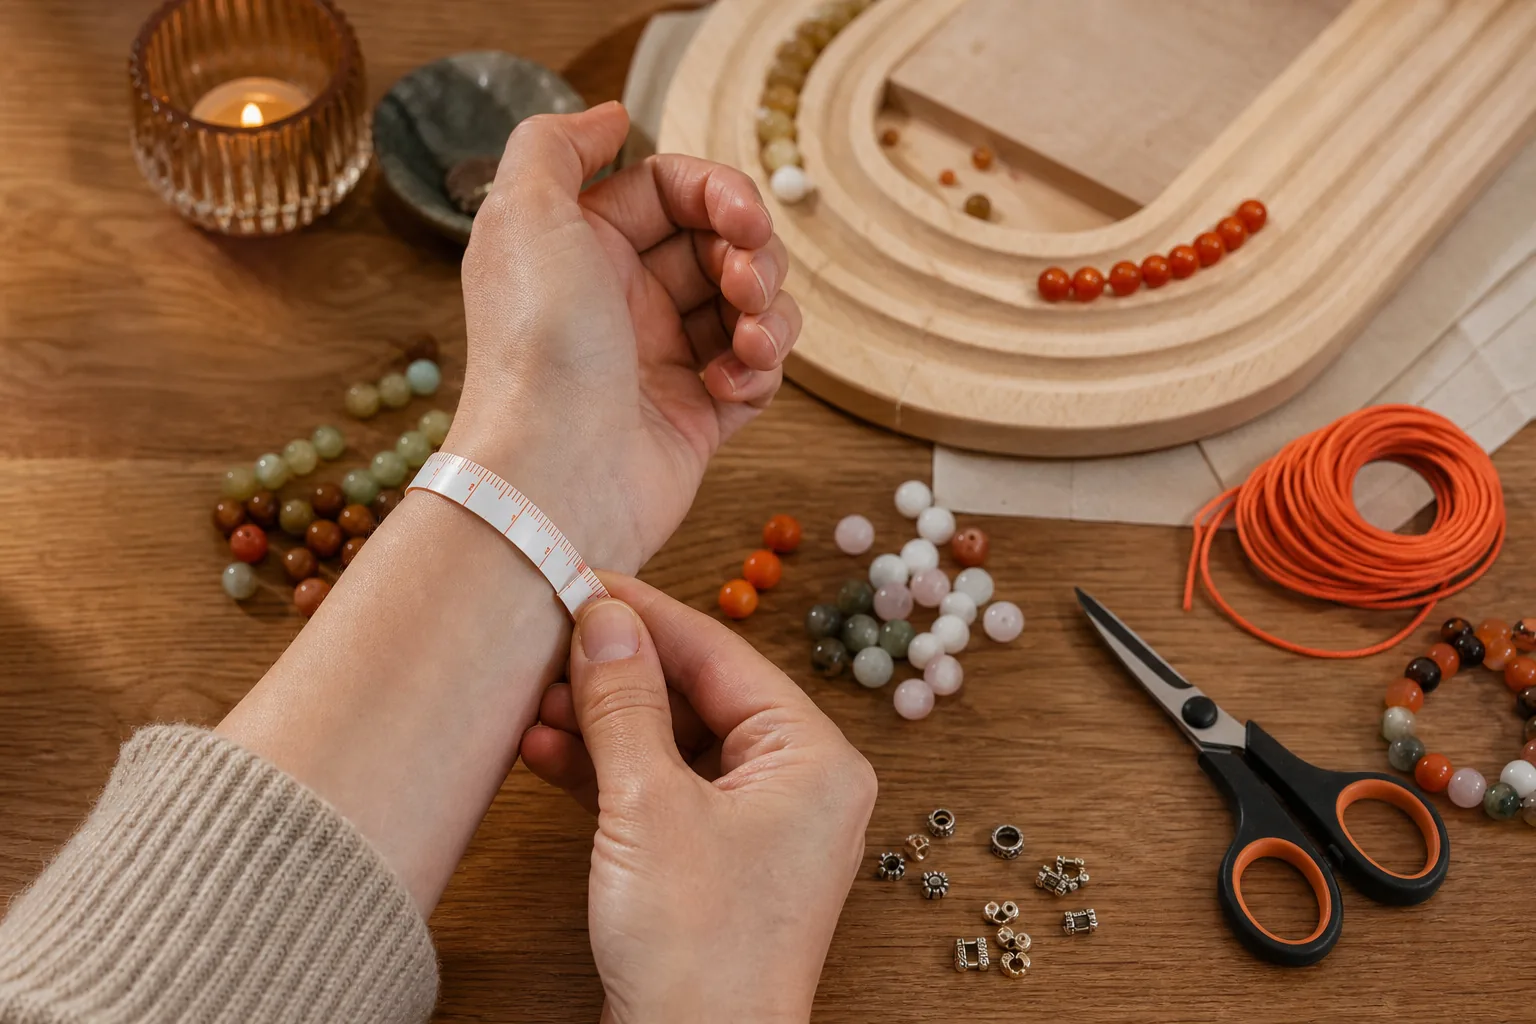
Build the pattern on a bead board
Place the beads in a line or curve before you string them. A bead board helps you see the repeat, the center point, and the clasp area. A folded cloth or shallow tray can work too, as long as the beads won’t roll away.
Begin with the focal bead. Then place the stones around it in pairs or a simple repeat. If you use three colors, give each color a job. One can lead, one can support, and one can appear only as a small accent.
Spacers can break up a dense row of stone. Gold-tone spacers warm a design. Silver-tone parts feel cooler and cleaner. Keep the metal finish consistent across the clasp, crimps, and spacers.
Before you commit, take a quick photo of the layout. This helps if beads shift while you work. It also lets you compare the flat pattern with the curved shape in your hand.
Less can be more with gemstone bead bracelets. A single stone with two sizes of bead may look more refined than a design with many competing colors. If you prefer strong color, the bold and bright bracelet collection can give you ideas for pairing vivid tones without making the design feel crowded.
Plan for the knot or clasp
Choose the bead with the widest hole before stringing. On a stretch bracelet, this bead can hide the knot. On a cord design, it can help conceal the final join. If every bead has a narrow hole, plan to use a clasp or a separate knot cover.
Count your beads only after the layout looks right. Leave a few extra beads nearby. You may need to replace one with a larger-hole bead or adjust the pattern after the first fit test.
Step 3: String, Knot, or Braid the Gemstone Beads
String gemstone bead bracelets slowly at first. The goal is even tension, not speed. Keep the beads in order and protect the loose end from slipping back through the first bead.
String a stretch bracelet
- Cut a length of elastic cord with extra room at both ends. More cord gives you space to tie and test the knot.
- Thread the bead with the widest hole first if you plan to hide the knot inside it.
- Add the rest of the beads in your planned order.
- Bring the two cord ends together and check the size around your wrist.
- Tie a firm granny knot, then tie a second knot that holds the strands together.
- Pull the cord with your fingertips, not your fingernails. Fingernails can pinch and weaken elastic cord.
Don’t pull the bracelet hard while tying. You want the cord firm enough to remove gaps, but not stretched to its limit. If you tie it while fully stretched, the finished bracelet may lose its shape sooner.
Use a hidden knot
To hide a stretch knot, bring the knot beside the large-hole bead. Add a small amount of jewelry-safe glue if the product instructions allow it. Let the glue cure before you pull the knot into the bead.
Keep glue away from the bead surfaces. Glue between beads can make the bracelet stiff at one point. After the knot dries, trim the ends close without cutting into the knot.
String a beading-wire bracelet
For a wire design, slide a crimp bead onto the wire first. Add one side of the clasp. Pass the wire back through the crimp, then leave a small loop near the clasp so the bracelet can flex.
Thread the gemstone beads next. Keep the wire flat as you work. When the beads are in place, pass the wire through the second crimp and the other clasp part. Check the fit before you crimp anything.
Use a crimping tool to press the crimp bead in stages. The crimp should hold the wire without crushing it into a sharp shape. Trim the tail, then tuck it into a nearby bead if the hole allows.
Braid cord or wire
Three-strand braiding works well when each strand carries beads. Add the beads to the strands before you begin, then secure the loose ends so they don’t slide off.
Move the right strand into the center. Then move the left strand into the center. Slide the next bead into place before repeating the braid. Keep the braid on a straight line and use the same tension each time.
For braided wire, dead-soft wire is easier to shape than hard wire. A thicker wire has more body, while a thinner wire bends with less effort. Use gentle bends. A sharp fold can create a weak point that may break later.
When three bead colors are in play, assign one color to each strand. The center strand will change as you braid, so the color rhythm will shift across the bracelet. That movement is part of the design.
Stop before the last bead if you’re unsure about the fit. It’s easier to add one more bead than to remove a crimp or rebuild a knot.
Step 4: Add the Clasp and Secure the Bracelet Finish
A clasp gives gemstone bead bracelets a clean opening and closing point. It also lets you use firmer wire or cord instead of relying on stretch alone.
Choose the clasp type
- Magnetic clasp: Fast to close and useful for people who find small clasps hard to handle. Keep the magnet away from devices or medical equipment when safety guidance calls for it.
- Toggle clasp: A bar passes through a ring. It has a decorative look, but the ring must be large enough to catch without slipping free.
- Hook and loop: A simple choice for braided cord. It can also give an adjustable bracelet more than one wearing position.
- Lobster-style clasp: A compact option for a wire bracelet. It needs a jump ring or connector at the other end.
Choose one that matches the bead scale. A tiny clasp can look lost beside large stone beads. A heavy clasp may pull the bracelet toward one side.
Finish a wire bracelet
Pass the wire through the clasp and back through the crimp. Pull until the beads sit together, then ease the wire back slightly. That small amount of play helps the bracelet bend.
Crimp the bead with the correct tool. Press with control rather than squeezing as hard as possible. Check the crimp by holding the clasp while you apply gentle tension to the bracelet.
Cut the wire tail with flush cutters. Never leave a sharp point against the skin. If the tail can fit through a nearby bead, thread it through before trimming the rest.
Finish braided cord or wire
For braided cord, bring the strands together at the end. Tie the selected closure with the same tension used at the start. On an adjustable design, form the loop large enough for the button or hook, but small enough to hold it securely.
For braided wire, form the clasp loop with round-nose pliers. Wrap the wire around the base several times. Keep the wraps close and smooth. Trim the tail on the inside, then press the cut end down with pliers.
Don’t bend wire back and forth while you work. If the loop looks wrong, reshape it with one calm adjustment instead of repeated sharp movements.
Step 5: Hide Knots, Check the Fit, and Troubleshoot Problems
The finish decides whether gemstone bead bracelets feel handmade in a good way or look unfinished. Take a few minutes to inspect the closure, the knot, and every exposed end.
Hide the join cleanly
On a stretch bracelet, move the knot into the widest bead. Use a beading awl or the tip of a needle to guide the knot without forcing it. If the bead resists, stop. Pushing too hard can chip the bead or cut the cord.
If the knot won’t fit, replace the hiding bead with one that has a wider hole. You can also place a small spacer beside the knot and let the join remain part of the design.
On a wire bracelet, tuck the tail inside a bead or cover it with a crimp cover. Run a finger around the bracelet when you’re done. Any scratch or snag needs attention before you wear it.
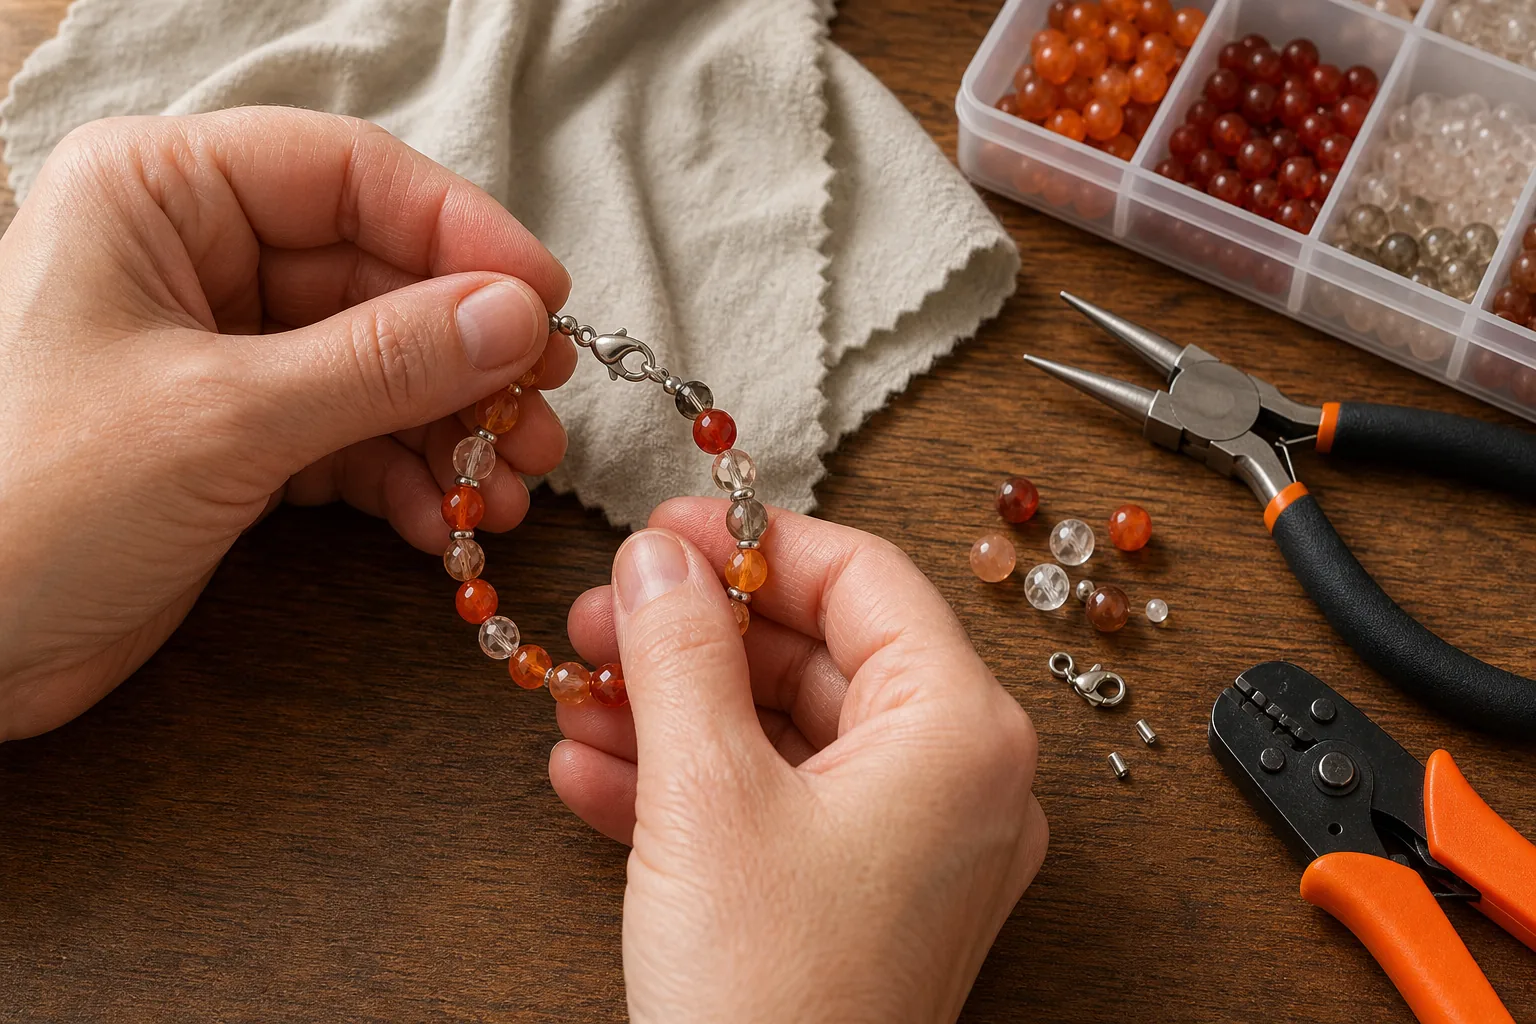
Test the fit and movement
Hold the finished bracelet in a circle before putting it on. Look for gaps between beads. A small gap can help a wire bracelet move, but a large gap may point to a loose crimp or short bead count.
Put the bracelet on and move your wrist gently. It should sit where you measured it. The clasp should stay on top or under the wrist according to your design, rather than pulling the piece sideways.
For a magnetic clasp, open and close it several times. For a toggle, turn your hand down and check that the bar stays in the ring. For an adjustable knot, test both the tightest and loosest settings.
Fix common problems
| Problem | Likely cause | Fix |
|---|---|---|
| Knot slips | The knot is loose or the cord is slick | Add a second securing knot, use a suitable glue, and hide the join inside a wide-hole bead |
| Bracelet feels tight | The layout was measured flat | Add a bead, choose smaller beads, or rebuild with more room |
| Stretch cord shows gaps | The cord was cut too long or the beads have uneven holes | Retie with even tension or replace the uneven bead |
| Braid twists | Strands have different tension | Undo the last few crossings and braid again with the strands straight |
| Wire pokes out | The tail was cut too long or not tucked | Trim it flush and cover the end inside a bead or crimp cover |
| Clasp pulls sideways | The clasp is too heavy or the end loops differ | Use a lighter clasp or make both loops the same size |
Don’t try to repair every issue by adding more glue. Glue can hide a problem for a short time, but it won’t correct a poor fit or a weak wire loop. Rebuild the part that failed.
Auras of Osiris takes the same view with finished jewelry. The piece should feel good on the wrist, sit well with your clothes, and carry meaning that feels true to you.
Step 6: Clean, Care For, and Wear Your Finished Bracelet
Care keeps gemstone bead bracelets bright and protects the cord, wire, and clasp. Treat the bracelet as jewelry first, even when it also holds spiritual meaning.
Clean with a light touch
Wipe the beads with a soft, dry cloth after wear. If they need more cleaning, use a cloth that is only slightly damp, then dry the bracelet at once. Avoid soaking the cord or leaving water around the clasp.
Skip harsh cleaners, alcohol, rough brushes, and ultrasonic devices unless the stone and jewelry maker specifically say they are safe. Some stones can scratch, fade, or react to heat and chemicals.
Don’t rub one bracelet against another in a crowded jewelry box. Harder beads can mark softer materials. Store each piece in a soft pouch or a separate compartment.
Protect the cord and clasp
- Remove the bracelet before swimming or bathing.
- Take it off before applying lotion, perfume, or hair products.
- Keep stretch bracelets away from heat and direct sun for long periods.
- Don’t pull a bracelet over the hand repeatedly if the cord is already loose.
- Check the clasp and cord before wearing it after a long period in storage.
Stretch cord will eventually lose some spring through normal use. When the bracelet begins to sag or the knot becomes visible, retire it from daily wear and restring it before the cord breaks.
Wear the symbolism with care
Use a stone as a prompt for attention, not as a replacement for medical care or support. You might touch a carnelian bead before speaking up in a meeting, or pause with an amethyst bracelet during meditation. The ritual gives your mind a clear point of focus.
Our work at Auras of Osiris is rooted in personal meaning, aura awareness, and a respectful approach to spiritual practice. If you want a finished design with a quieter color story, explore the natural and neutral gemstone bracelet collection.
When you wear a handmade bracelet, let the piece remind you of the intention you chose. That is enough. It doesn’t need a grand claim to become part of your daily practice.
Frequently Asked Questions
What do I need to make gemstone bead bracelets?
You need gemstone beads, a suitable cord or beading wire, scissors or wire cutters, and a way to secure the finish. A bead board helps with layout. Wire designs may also need crimps, a crimping tool, pliers, and a clasp. Stretch designs need beads with holes large enough to hide the finished knot.
What cord is best for a gemstone bracelet?
Elastic cord is a good choice for a simple stretch bracelet because it needs no clasp. Braided cord works well for adjustable designs. Flexible beading wire suits bracelets with crimps and clasps. Match the cord strength and thickness to the bead weight, hole size, and finish you plan to use.
How do I size a gemstone bead bracelet?
Measure your wrist where the bracelet will sit, then add room based on how close or loose you want the fit. Lay the beads in a circle before cutting cord. Check the design on your wrist because bead thickness changes the inside space. Always leave extra cord for knots or clasp loops.
How do I keep a stretch bracelet knot from coming undone?
Use a firm double knot, keep even tension, and avoid stretching the cord fully while tying. Add a small amount of suitable jewelry glue if its instructions allow it. Let the glue dry, then place the knot inside a wide-hole bead. If the knot still slips, restring the bracelet with fresh cord.
Can I mix different gemstones in one bracelet?
Yes, you can mix gemstones in one bracelet if the colors and bead sizes work together. Start with two main stones, then add one small accent. You can also choose stones by a shared intention, such as calm, focus, grounding, or self-love. Keep symbolic meanings personal rather than treating them as medical claims.
How should I clean gemstone bead bracelets?
Wipe them with a soft, dry cloth after wear and use only a lightly damp cloth when needed. Dry the piece right away. Avoid soaking, harsh cleaners, rough brushes, and heat unless the stone is known to tolerate them. Store each bracelet separately so the beads and clasp don’t rub against other jewelry.
For your first project, choose a single-strand stretch design with one main stone and a wide-hole bead for the knot. If you’d rather wear the finished piece while you learn the craft, Auras of Osiris offers thoughtfully described gemstone jewelry to support your style and personal intention.